
Many bloggers delay moving to a better hosting provider due to the fear of losing visitors, search engine crawl errors, or breaking active features. When it comes to maintaining search rankings and user trust, migrating a WordPress site with zero downtime is often viewed as the gold standard. But is this technical feat actually achievable for a standard, small-scale blog without hiring an expensive systems administrator? The short answer is yes.
By understanding how domain name resolution works and executing the transition in parallel stages, any blog owner can move their files and databases seamlessly. This guide demystifies the process, highlighting the exact steps and safety mechanisms required to ensure your readers never encounter an offline page.
The Reality of Migrating a WordPress Site with Zero Downtime
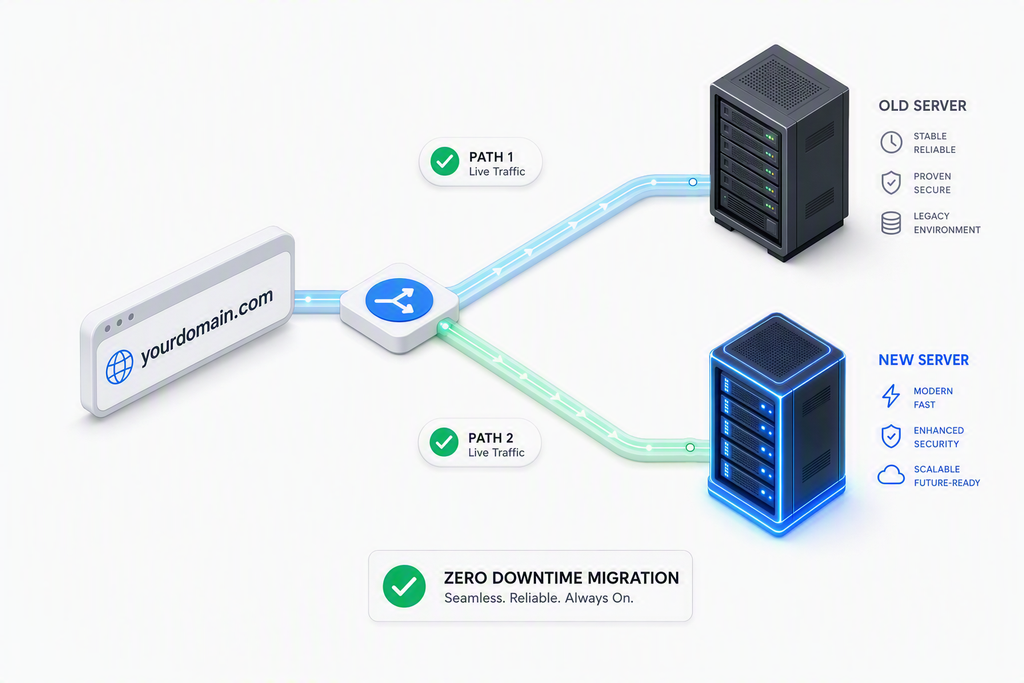
Many webmasters assume that migrating a WordPress site with zero downtime is only achievable for enterprise-level operations with massive budgets. In reality, the underlying technology is identical regardless of site size. The concept of zero downtime does not mean that the migration happens instantaneously. Instead, it means that while your domain is transitioning from the old server to the new server, some visitors will load the old version while others load the new version. Because both copies of your website are fully functional and identical, the reader experiences uninterrupted service.
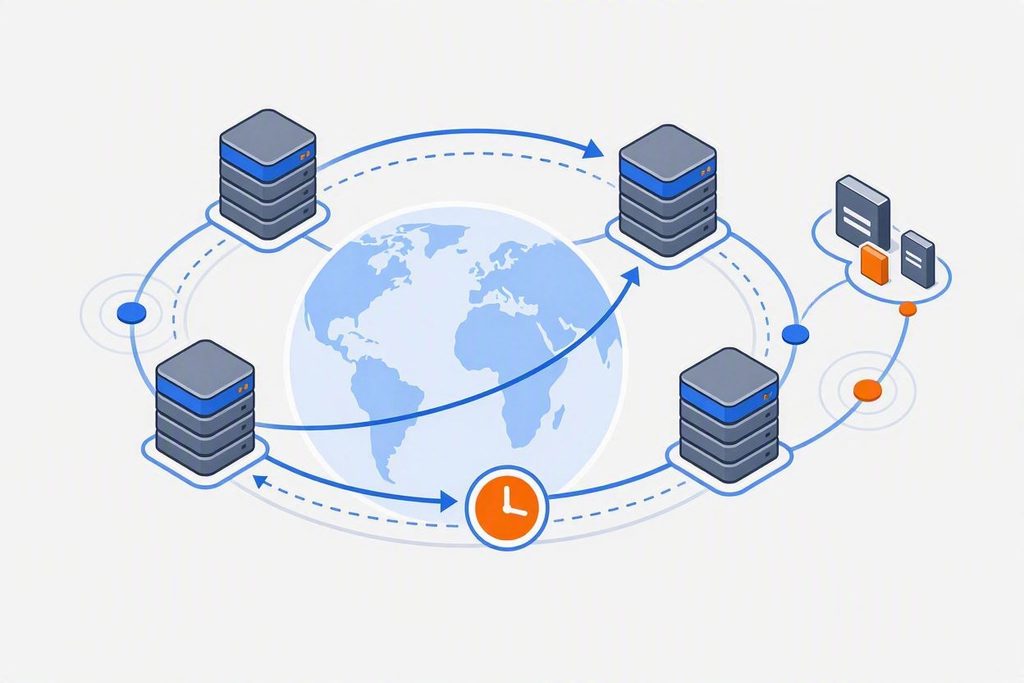
This dual-hosting state relies heavily on DNS propagation. According to the official Internet Corporation for Assigned Names and Numbers guidelines, global domain name servers cache DNS records to speed up web browsing. Understanding this caching mechanism is key to a smooth transition.
In Short
- Zero downtime is highly achievable for small blogs by staging the site before updating DNS records.
- The process relies on keeping the old hosting active while the new destination fully propagates across the web.
- Lowering the DNS Time to Live (TTL) value prior to migration is the most critical preventative measure against service gaps.
The Core Mechanism: How Zero Downtime is Achieved
Before initiating the process, understanding the technical steps of migrating a WordPress site with zero downtime helps prevent accidental service interruptions. The entire strategy rests on three operational pillars: running parallel environments, local testing, and controlled DNS updates.
First, you must establish an exact duplicate of your site on the destination host while your domain still points to the origin host. Second, you must verify that this duplicate functions correctly before anyone else sees it. Third, you must route traffic to the new server gradually.
Looking for Blazing-Fast NVMe Cloud Hosting?
ChemiCloud delivers LiteSpeed-powered 100% NVMe storage, free 24/7 migration, a free domain, and an industry-leading 45-day money-back guarantee.
Get Up to 70% Off ChemiCloud Plans Today →To ensure the transition is flawless, webmasters must account for the Time to Live (TTL) setting in their DNS zone files. The TTL determines how long recursive DNS servers store your domain’s routing record before checking for updates. If your TTL is set to 24 hours, some users will continue to land on your old server for a full day after you make the switch. By lowering this value in advance, you instruct global networks to check for updates every few minutes instead.
Step-by-Step Guide: Migrating a WordPress Site with Zero Downtime
By following a structured checklist, migrating a WordPress site with zero downtime becomes a manageable task even for a single-author blog. The workflow requires no specialized programming knowledge, only careful attention to detail.
First, lower your DNS TTL to 300 seconds (5 minutes) at least 24 to 48 hours before the actual migration. This ensures rapid update propagation when the time comes.
Second, export a complete backup of your WordPress files and database from the origin server. Import these assets into your destination hosting account. Avoid updating your primary domain records during this stage.
Third, configure your local computer to access the new server directly. This is done by editing your operating system’s local hosts file. By mapping your domain name to the new server’s IP address locally, you can navigate your site, test plugins, and verify database integrity on the destination server without affecting live traffic.
Fourth, update your nameservers or A-records at your domain registrar to point to the new hosting provider. One common mistake when migrating a WordPress site with zero downtime is neglecting the Time to Live (TTL) settings of the domain Name Server, which can lead to extended propagation times if not adjusted prior to this step.
Fifth, monitor server logs on both the old and new accounts. Once traffic to the old server drops completely to zero—usually within 48 to 72 hours—you can safely terminate the old hosting plan.
⚠️ Common Issue: Database Connection Error on Staged Site
Symptom: The website displays an “Error Establishing a Database Connection” message when testing via the modified hosts file.
Likely cause: The wp-config.php file on the destination server still contains database credentials or database host values from the previous environment, or the newly imported database user lacks proper permissions.
Resolution: Open wp-config.php on the destination server, verify the database name, username, and password match the new hosting environment’s database, and ensure the host value matches the destination provider’s database server address.
Key Risks and Suitability Boundaries
While this method works flawlessly for static blogs, portfolio sites, and standard content publishers, dynamic blogs require extra precaution. If your blog allows user registrations, active commenting, or runs an e-commerce storefront, any data written to the database during the propagation window will be split between the old and new servers.
For highly dynamic sites, you should temporarily disable comments or place the site in maintenance mode during the final database sync. Alternatively, you can schedule the final cutover during low-traffic hours to minimize data fragmentation. Ultimately, migrating a WordPress site with zero downtime is entirely possible if you systematically duplicate the environment before changing DNS records and closely adhere to technical standards defined in Internet Engineering Task Force standards.
Bottom Line
- Never cancel your old hosting plan immediately; keep both environments running parallel for at least 72 hours.
- Use local hosts file modifications to test the migrated site on the new server before pointing real traffic to it.
Will my visitors notice any changes during a zero-downtime migration?
If performed correctly, visitors will experience no disruption. They will either see the cached copy of your site on the old server or the newly loaded copy on the new server. Because both environments are identical, the transition is invisible.
How long should I keep my old hosting active after updating DNS?
You should keep your old hosting account active for at least 72 hours. Global DNS propagation can take up to 3 days to update completely across all internet service providers worldwide.
Is it safe to migrate a dynamic WooCommerce site using this method?
For dynamic sites like e-commerce, you should temporarily pause transactions or place the site in read-only mode during the database transfer. Otherwise, orders placed during the DNS propagation window might be lost on the old server.